A little routine maintenance goes a long way in keeping things printing well and to reduce some potentially more expensive hardware replacements. I tend to print through an entire spool of filament rather than change out colors or types every few prints, therefore I use the timing of changing out spools to trigger a little TLC on my printer.
On the printer’s screen, go to tools, preheat the end and then raise the z axis about 3/4 of the way. I use Octoprint on all of my FDM printers, so another option is to use the web interface to do the same, but for the rest of the steps I find it easier to just use the LCD on the printer.
Push a little more filament through the hot end and then quickly remove the filament.
Unplug the USB cable and shutdown the printer.
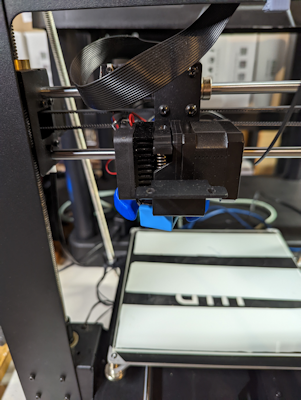
While you are waiting for the hot end to cool down, grab a paper towel and wipe the rails & Z Drive screws, but careful on the sensor behind the left rail. I’ve ripped the sensor trying to be too quick with cleaning the rails before. Not fun.
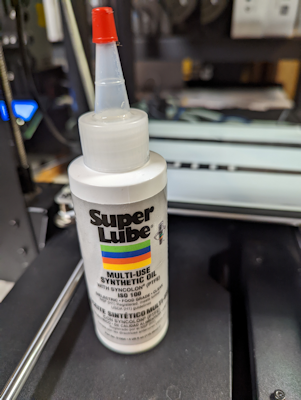
Grab a fresh paper towel and run some oil over the rails and the screws, lightly wiping off the excess oil and spreading it across the rails.
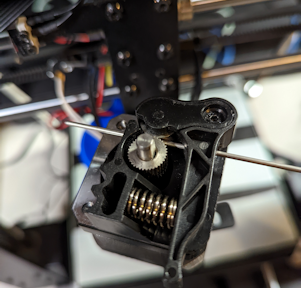
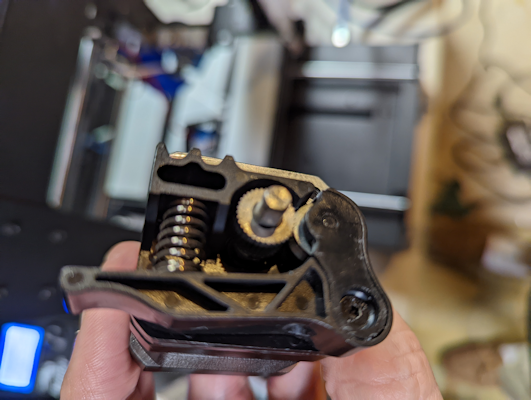
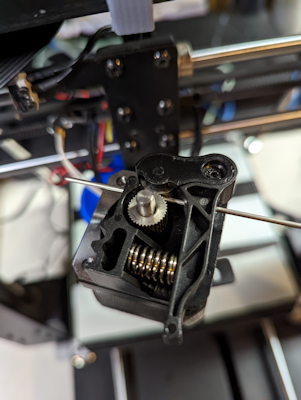
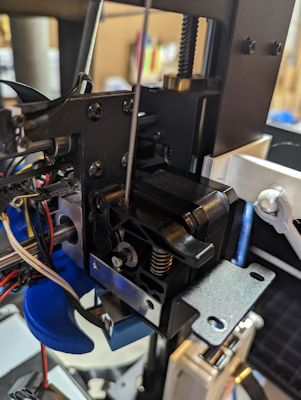
Once things have cooled down, remove the extruder cooling fan and unplug the extruder. Brush off the extruder gear, fan and anything else that has accumulated dust or dirt.
With the extruder off and a clear view of the hot end, power up the printer and preheat.
Use the cleaning wire to clean out filament from the top & a drill cleaning tool to clear out the nozzle from underneath. Push through about an inch of filament cleaner if you have it handy.
Power down and let things cool down, or continue on knowing that a burn is waiting for you in your future – soon or during another routine maintenance.
Insert the extruder cleaning wire about an inch below the extruder and use it to line things up with the hot end and reassemble everything. Remove the cleaning wire, power up and preheat the hot end.
Load the new filament.
Using the LCD screen, go to tools, movement and test extrusion by advancing the e step once or twice.
Hit the ‘-’ on e step to back off the pressure on the hot end and remove any melted filament from around the hot end and the printing mat / glass.
Go through the steps to relevel as needed. (As a bonus, homing will spread the oil on the Z Drive screws.)
If you have a glass surface, clean it with alcohol and a lint free cloth.
All of that takes about 10-15 min. If I have a little more time and I’m not impatient to start a new print, I’ll run a zig zag test pattern to make sure everything is in tune and adjust the thumb screws as it’s printing to hone in on a level surface.