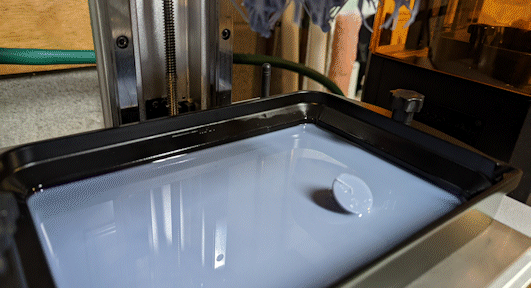
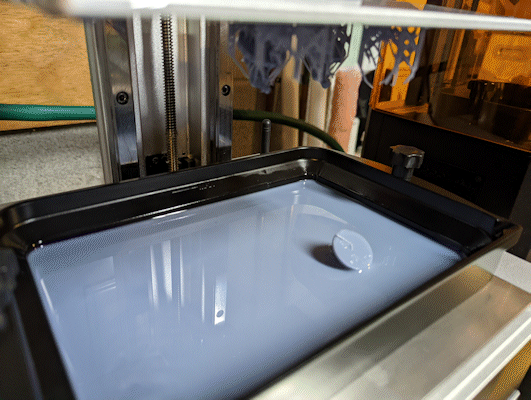
After months of draining and scraping my vat after failed prints (and I had quite a few of them as I was learning how to NOT add supports), a friend of mine told me of a hack that he uses to clean his vat – manually cook the bottom layer of the entire vat, solidifying things stuck to the bottom of the vat.
I’ve got to say, other than wasting a small amount of resin, I’m sold and have employed this method ever since.
Pros:
- No more draining the vat, spraying with alcohol and scraping (and scratching) the FEP film after each failed print.
- If you experiment a lot, or are just bad at applying supports, it’ll extend the life of your FEP film due to scratches from spatulas and cleaning cloths over time.
- Saves time.
Cons:
- Wastes a small amount of resin.
- Can be messy until you find a good way to let the resin layer drip and dispose of it.
- Can damage or rip your FEP if you scrape with the corner of a spatula to remove that bottom layer.
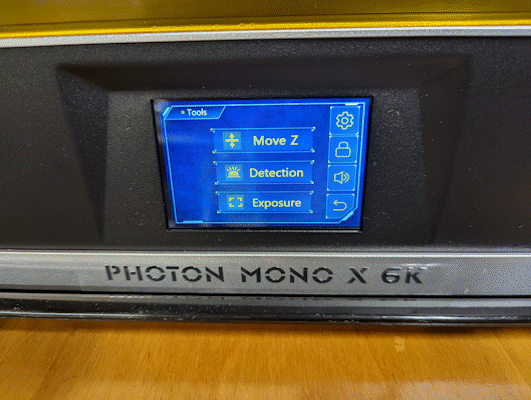
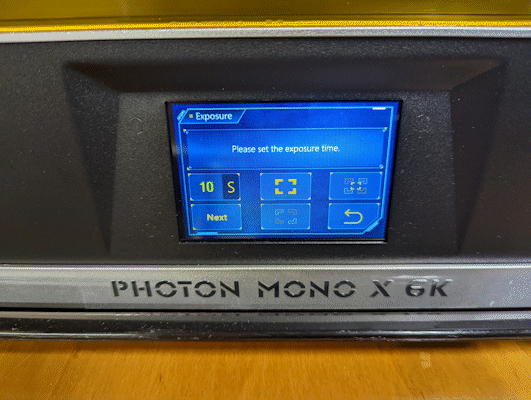
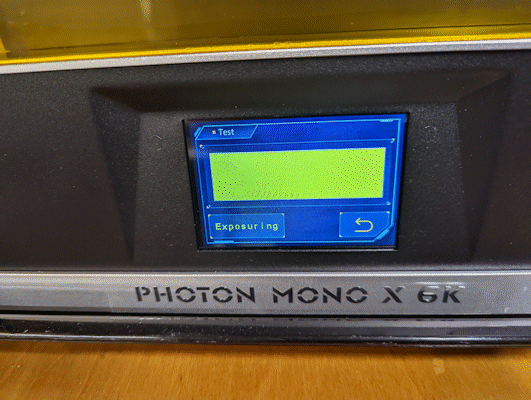
Let’s get to it and walk through the steps.
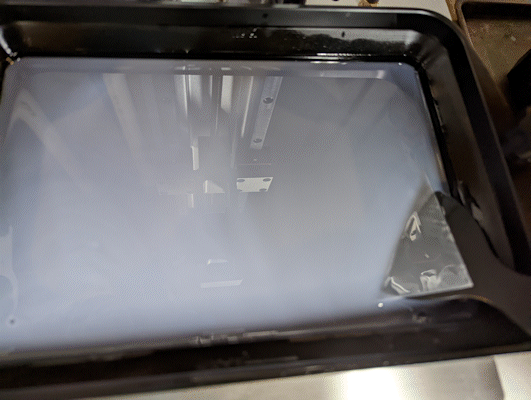
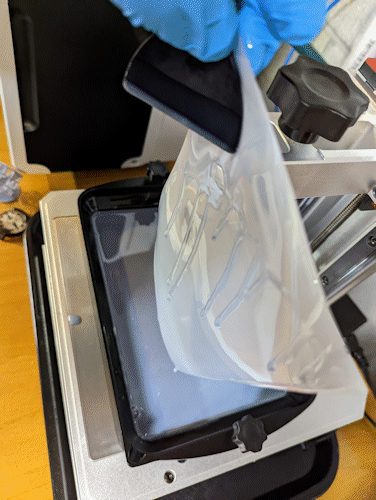
7. If there are any pieces floating in the resin, you’ll need to fish those out.
8. Get back to printing!
As an added bonus, I’ve successfully (about half of the time) been able to take the support left-overs stuck to the build plate and place it in the corner of the vat before manually exposing the bottom layer. This provided a nice handle to pull up on to lift the layer out of the vat without using a spatula.
Hopefully this has helped save a little time and headache for others. Happy printing!